

Learn to prepare your development environment for Swift development, which is a rather easy task on a Mac!
Yes, you read that right: It is highly recommended to have a Mac for Swift development—which makes sense as the primary goal of Swift is development for Apple devices. It’s therefore logical to do the development itself on an Apple device and OS as well, where the infrastructure and emulators of all kinds are readily available. During the learning phase, any Mac will do so long as it can run Xcode. Don’t feel obliged to make a huge investment for your debut.
If you don’t have a Mac, don’t fret: The situation is not hopeless. We’ll offer alternative solutions.
Preparing Your Mac
In this section, we’ll guide you through the simple steps to prepare your Mac for Swift development.
Installing Xcode
Unlike some other languages with complex installation and configuration steps, all you need to do is to install the latest IDE on your Mac, which is Xcode. You might already have Xcode installed on your Mac; if that’s the case, fire it up and complete any necessary updates. Otherwise, simply find it in the App Store and install it like any other application. That’s it!
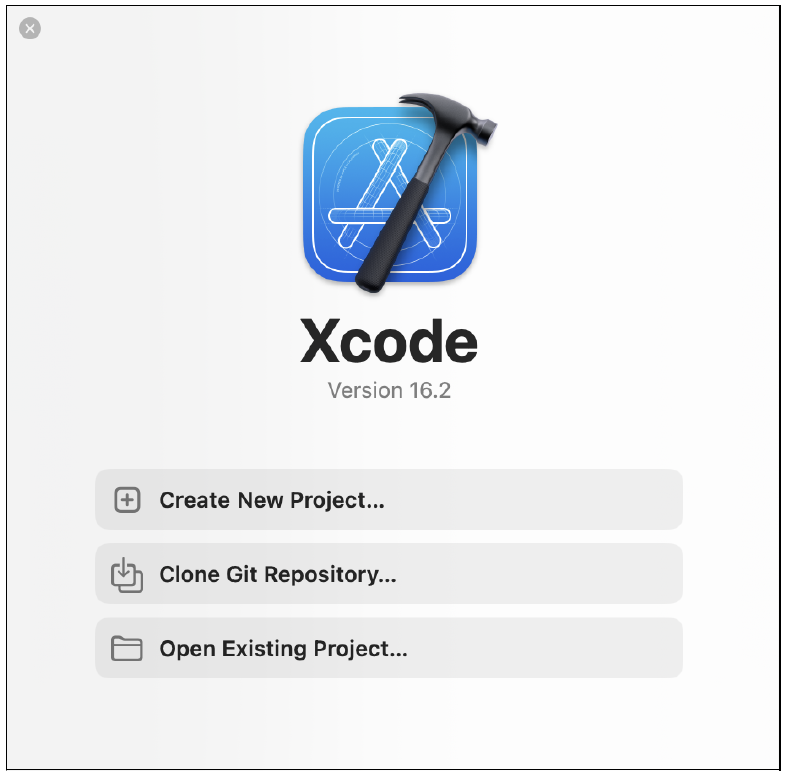
Once you have it up and running, Xcode should greet you with its initial welcome window, shown below.
Xcode Playground Versus Projects
In your Swift learning journey, the first thing to know is the difference between a playground and a project. A playground can be considered a quick and dirty scratchpad file for the Swift language in which you can write and execute simple Swift code snippets to test things out. Although it has limited functionality for serious software projects, it is a nice platform to discover the language and try out features.
A project is a fully featured development package. If you are developing a new app or library, you ought to create a new project for it. However, this doesn’t mean that you can’t create educational projects during your learning phase: quite the contrary! Because creating a project costs nothing, you can open up as many projects as you like and play around with them.
Now let’s see both options in action!
“Hello, World!” in a Playground
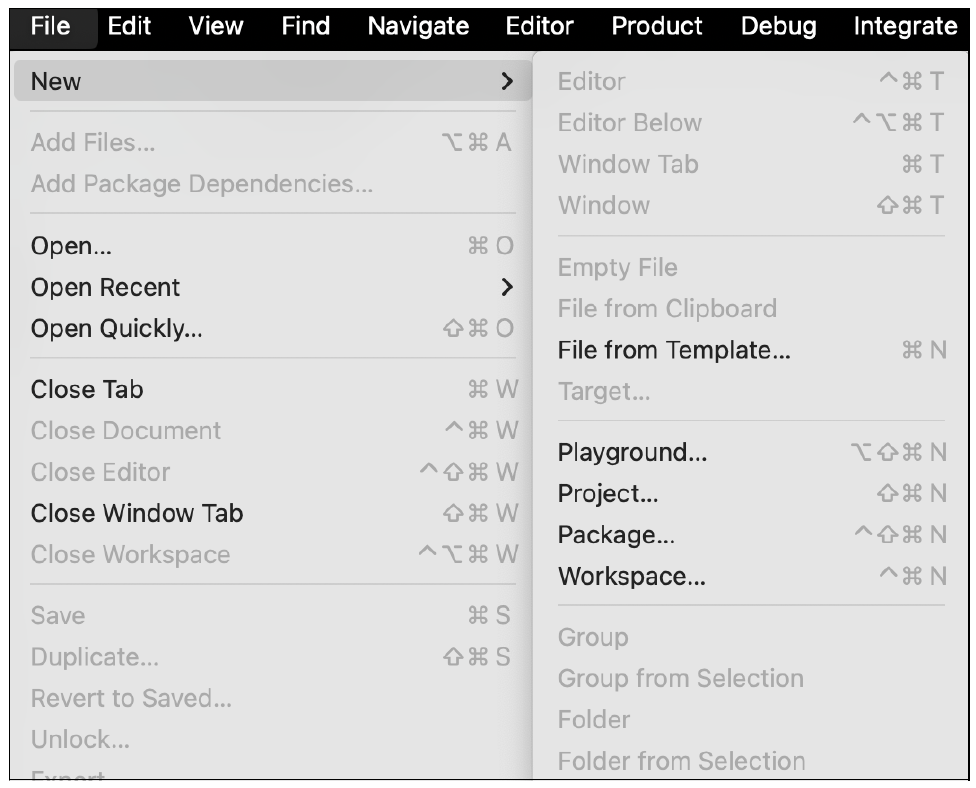
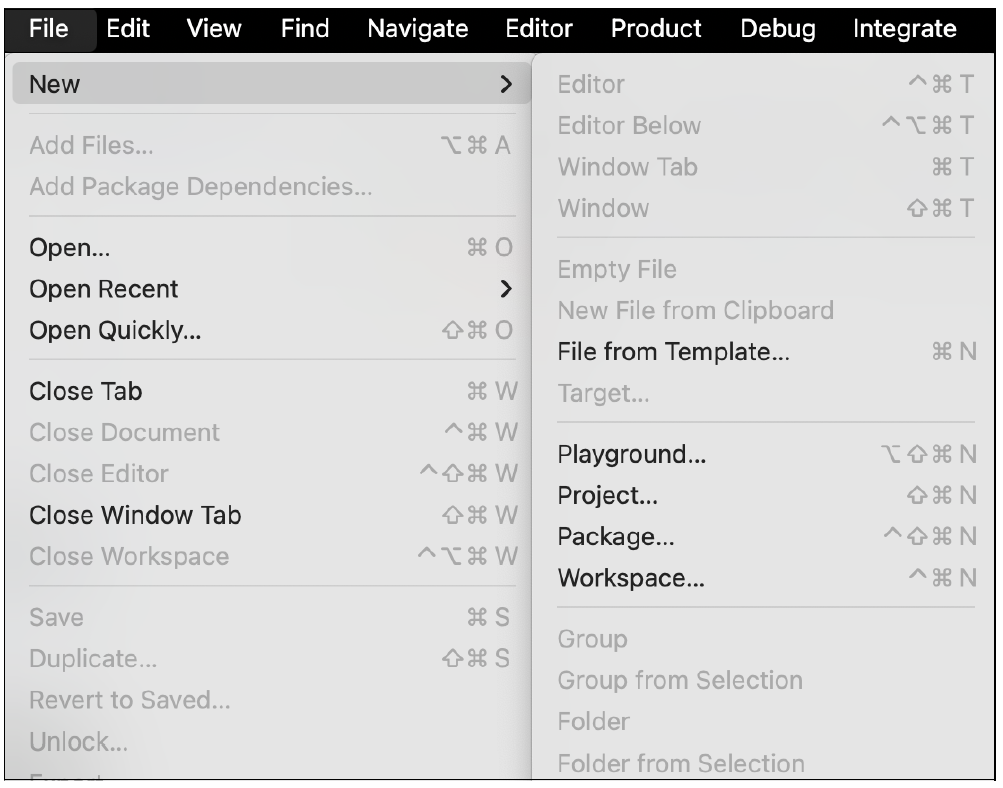
Let’s begin with the simpler option and write a “Hello, World!” code snippet in a playground. On the Xcode menu, select File > New > Playground, as shown.
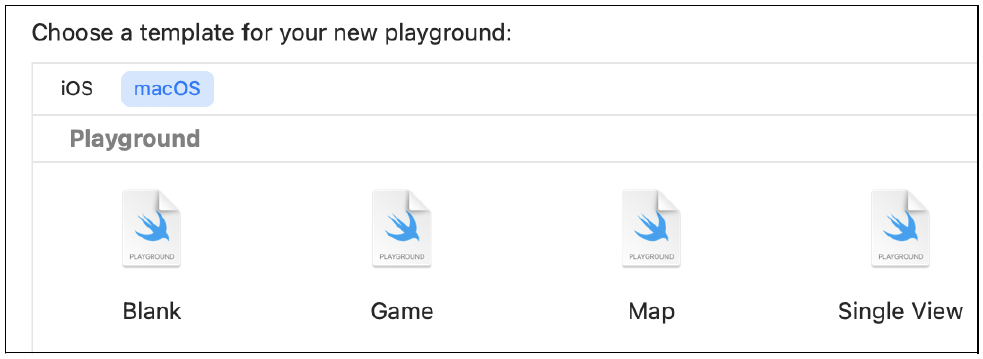
In the popup window, browse to the macOS tab and select Blank, as shown below.
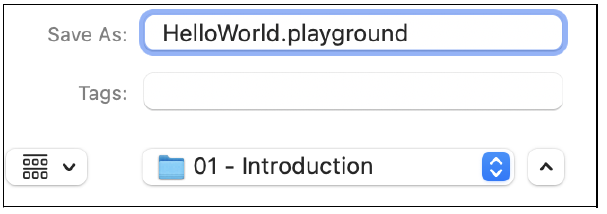
Now Xcode will save your playground file to the disk. Pick an appropriate folder, then save your playground as “HelloWorld.playground”, as shown here.
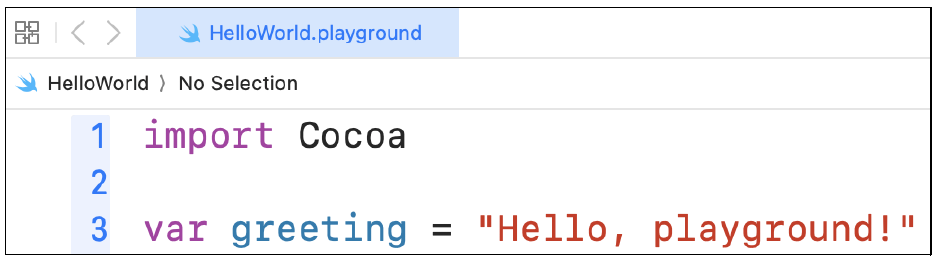
That’s it! Now Xcode will bring up the playground editor, in which you can write Swift code. There may even be some initial code in it already, as shown in this figure.
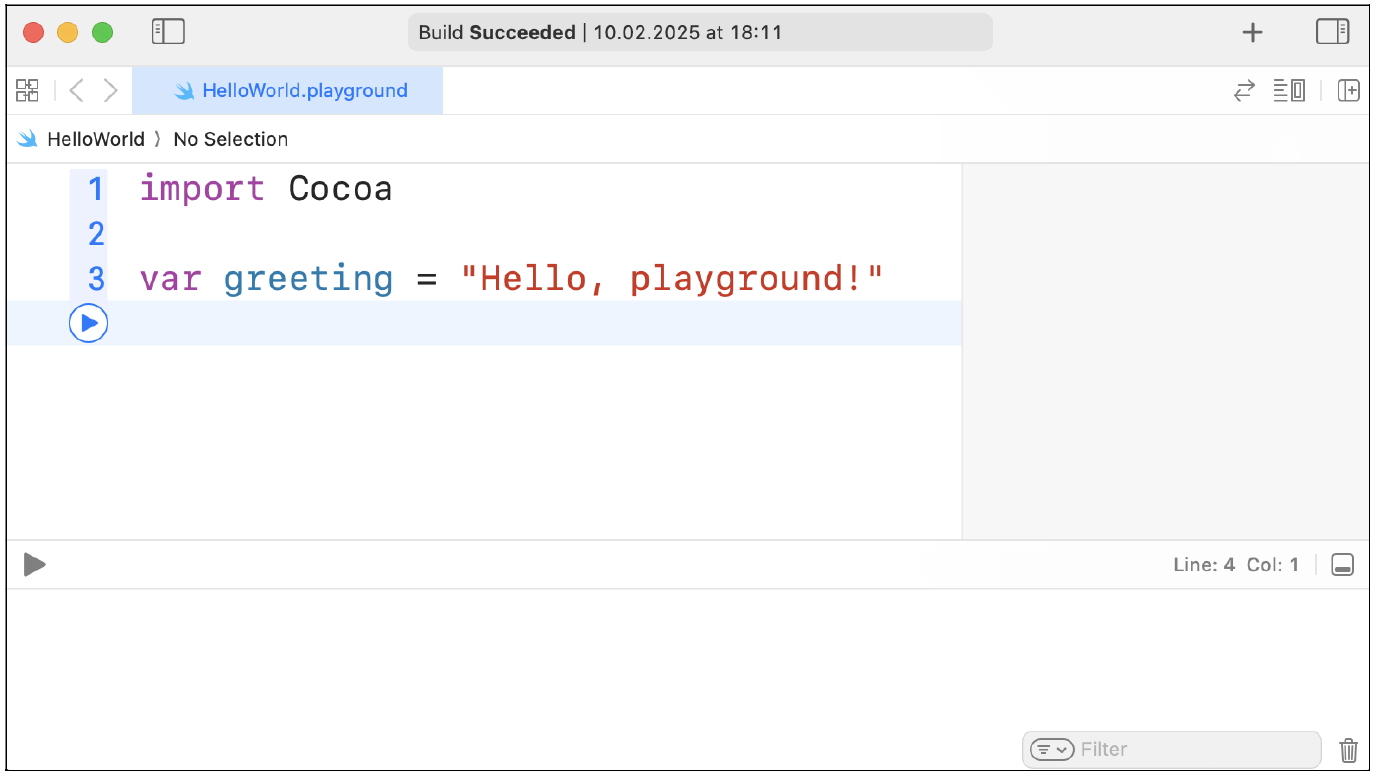
The first thing you want to do here is to show the terminal output as you will need it. If the terminal section at the bottom of the window is hidden, you can simply unhide it by clicking the Expand button in the bottom-right part of the window. Your playground window should look as shown in this figure.
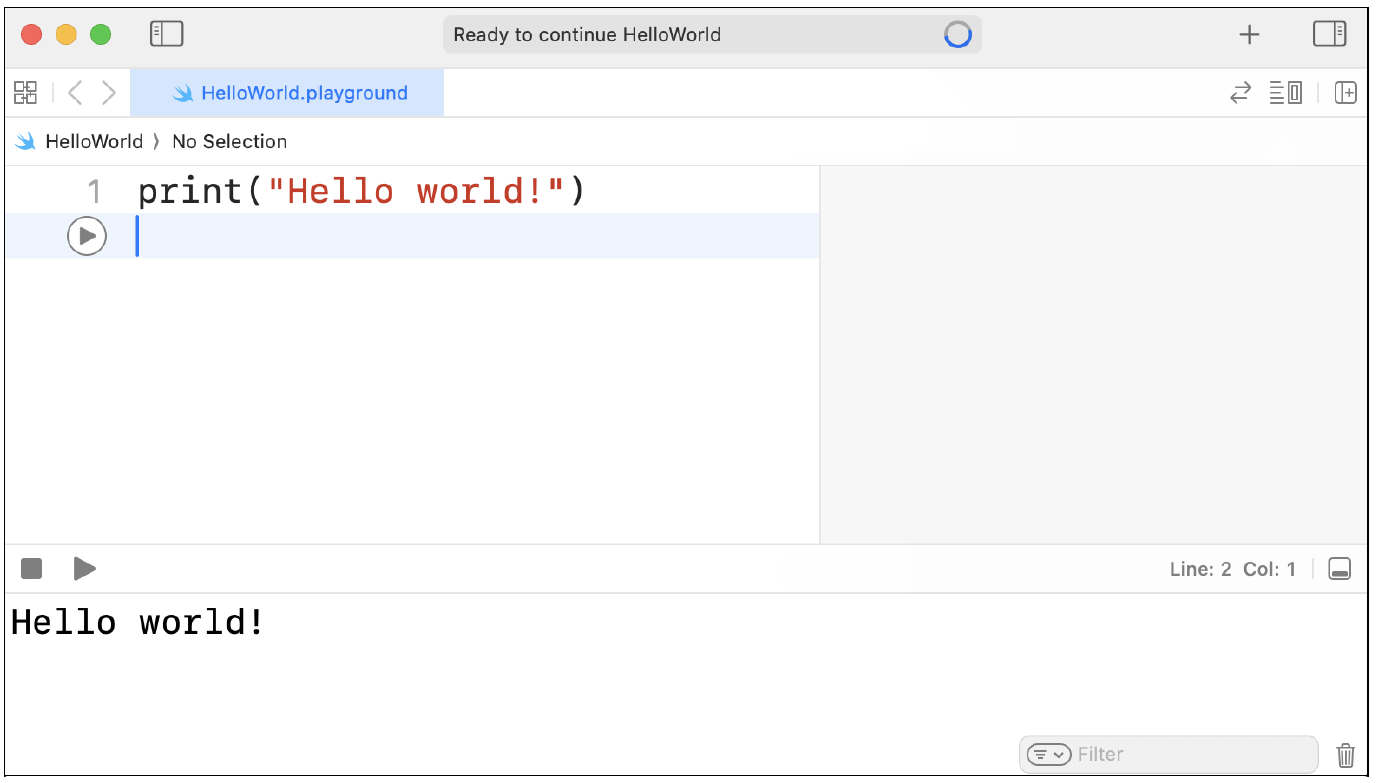
Now let’s write some Swift code! Delete the initial playground code and replace it with the content below:
print("Hello world!")
Click the Run button at the top of the terminal, and voilà! Your Swift code is running! Your playground should look as shown.
You can close and reopen your playground file via the intuitive File > Open menu anytime you want. You can simply think of it like any other text editor.
Next, let’s do the same thing, but in a project.
“Hello, World!” in a Project
To create a new Xcode project, follow the File > New > Project menu path, as shown in this figure.
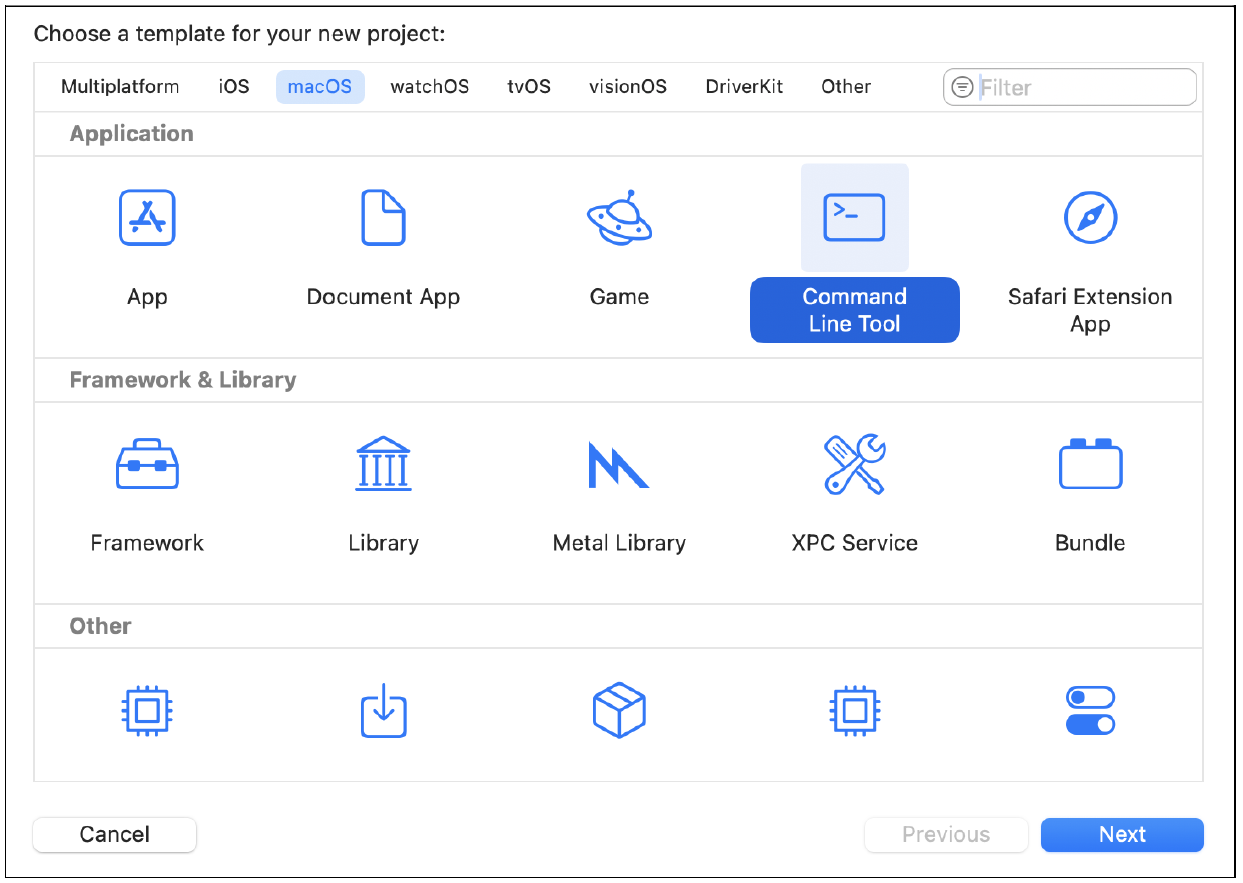
Although there are many different project types available, a simple command line project is enough to learn Swift basics—and certainly more than enough for a simple “Hello World” app! Select macOS > Command Line Tool, as shown in the figure below, and click Next.
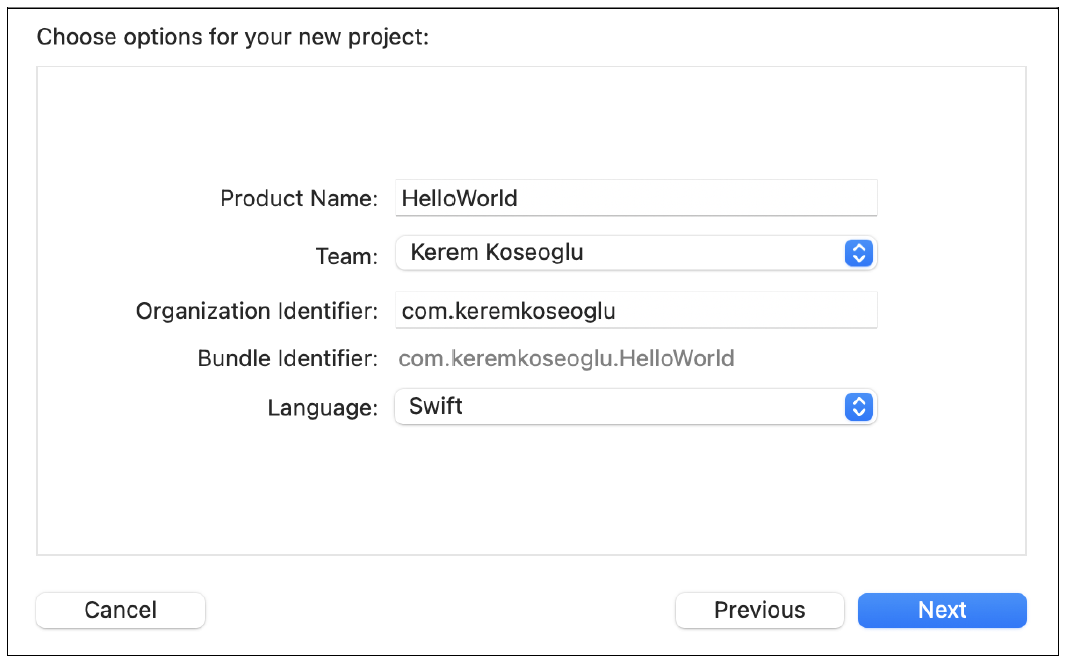
In the next window, enter a name for your project. You can simply call it “HelloWorld”, as shown below. Click Next when you’re ready.
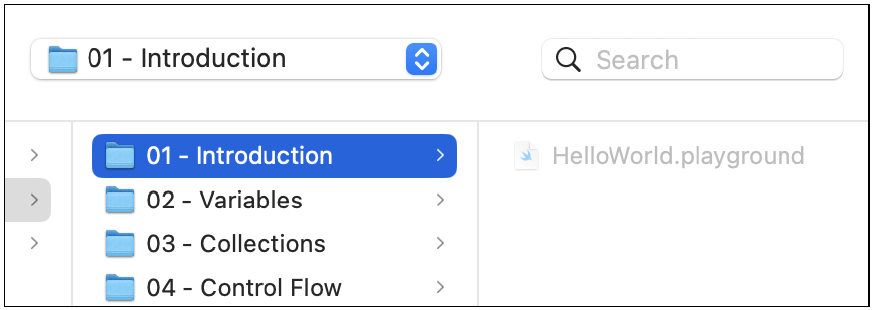
Select an appropriate folder for your project, as shown in the figure below, and save it. You don’t need to worry about further options (like Git) at this point.
And voilà! The project is saved to your disk. You can close or open the project in Xcode via its intuitive File > Open menu any time you want, just like any other file.
On the left side of Xcode, you will see your project structure, as shown below. Here, click main.swift, which is the main file in which to write Swift code. Xcode will show the editor, which contains some initial autogenerated code.
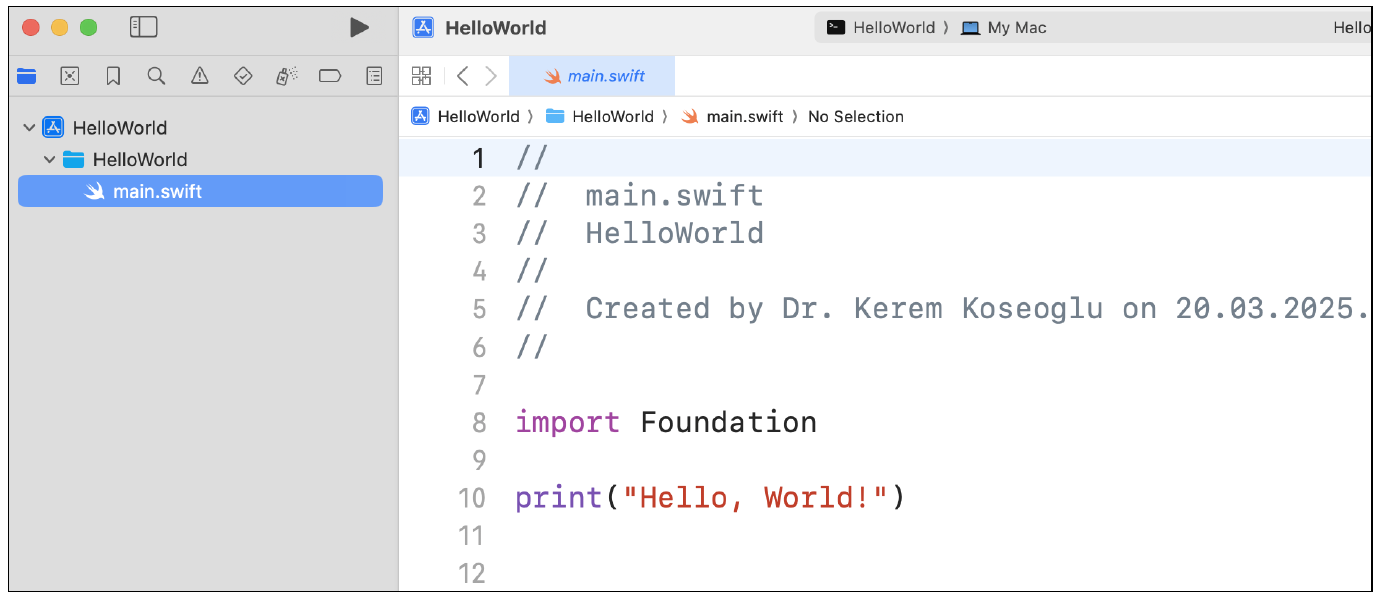
You can replace the entire code with the content below to simplify it even further.
print("Hello, World!")
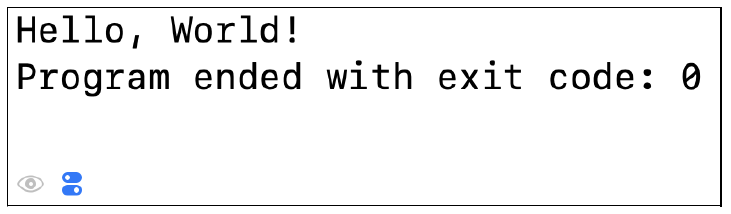
Now click the Run button at the top of your editor. Alternatively, you can press (?)+(R) (on your keyboard or select Product > Run from the Xcode menu. In any case, the simple code should run successfully and generate the output shown here.
Voilà! Now you know how to study Swift over an Xcode project as well.
Alternative Options for Swift Development
For those of you who don’t possess a Mac, here are some alternative paths you can follow.
There are commercial cloud services offering remote macOS access. By subscribing to such a service, you can basically have access to a remote Mac. However, the costs may exceed the cost of a Mac in the long run, so do your math well!
In the Apple ecosystem, there is an iPad app called Swift Playgrounds. If you own an iPad (and preferably an external keyboard), you can study Swift via this app.
For Windows and Linux, Apple provides online guidelines for installation. You can pick your OS and distribution and follow the steps provided here. There might be missing or differing features in this approach, but it should be enough to start with Swift.
If you don’t want to install anything at all or are looking for a platform-independent solution, there are browser-based online Swift playgrounds as well. Although they are not officially supported by Apple, they can be used for Swift studies. You can find them via your favorite search engine.
Conclusion
Swift development is most straightforward on macOS with Xcode, but the barrier to entry is lower than you might think. Whether you're working with a playground for quick experiments or building full projects, the setup process is simple and takes just minutes.
And if you don't have a Mac, you still have options: cloud services, Swift Playgrounds on iPad, or browser-based environments can all get you started. The key is to pick a path that works for your situation and start writing code. Once you've completed your first "Hello, World!" program, you're ready to explore everything Swift has to offer.
Editor’s note: This post has been adapted from a section of the book Swift: The Practical Guide by Kerem Koseoglu. Dr. Koseoglu is a seasoned software engineer, author, and educator with extensive experience in global software development projects. In addition to his expertise in ABAP, he is also proficient in database-driven development using Python and Swift. He is the author of Design Patterns in ABAP Objects (SAP PRESS), as well as several best-selling technical books in Turkey. He has a Ph.D. in organizational behavior.
This post was originally published 5/2026.




Comments